This article explains, how to set up CMS integration with AWS S3. Please follow the steps.
- Log in to the AWS Console and navigate to S3.
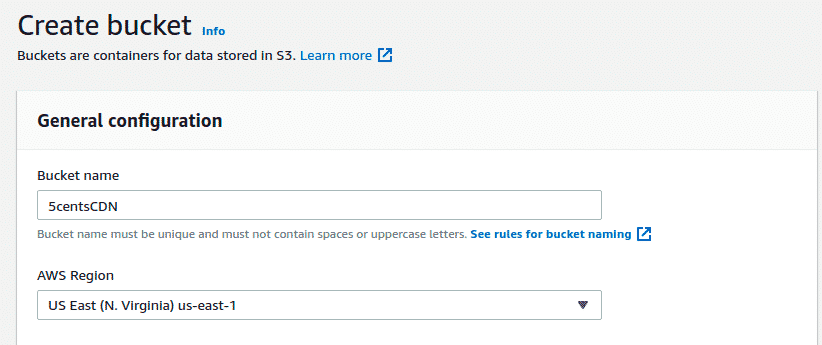
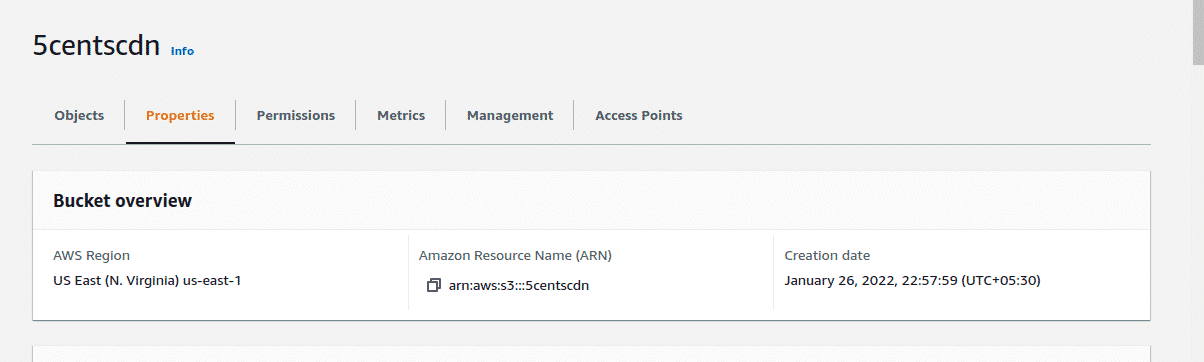
- Create an S3 bucket (define the Bucket Name and the Region you want).
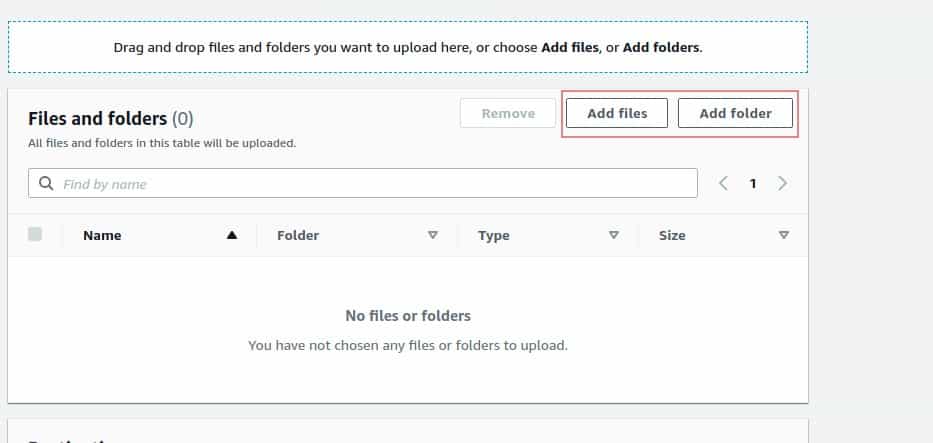
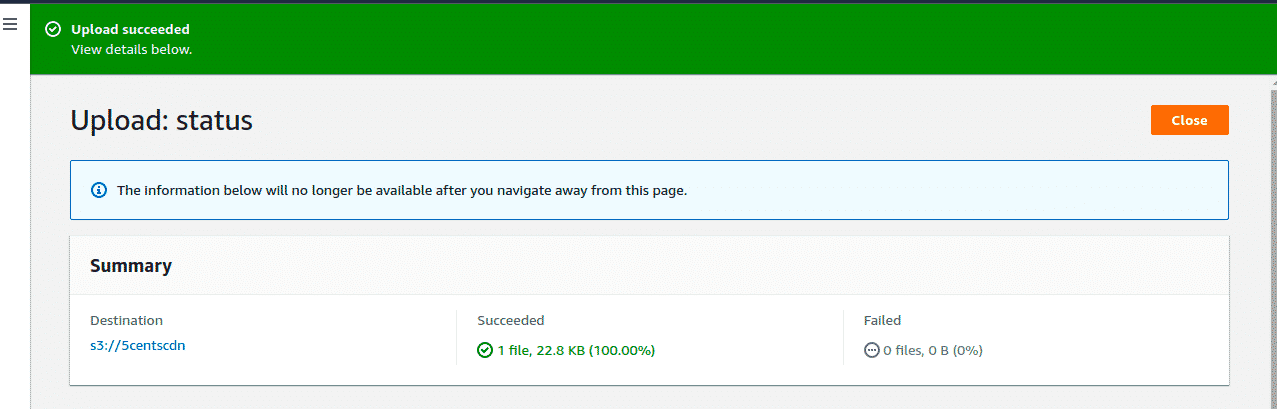
- Once the bucket is created, you can upload your static website content to the bucket.
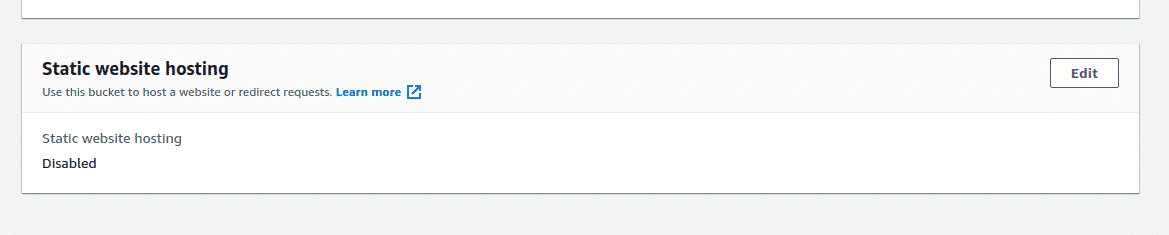
- The next step is to enable Website Hosting and define the Index Document for your S3 bucket under Properties > Static Website Hosting.
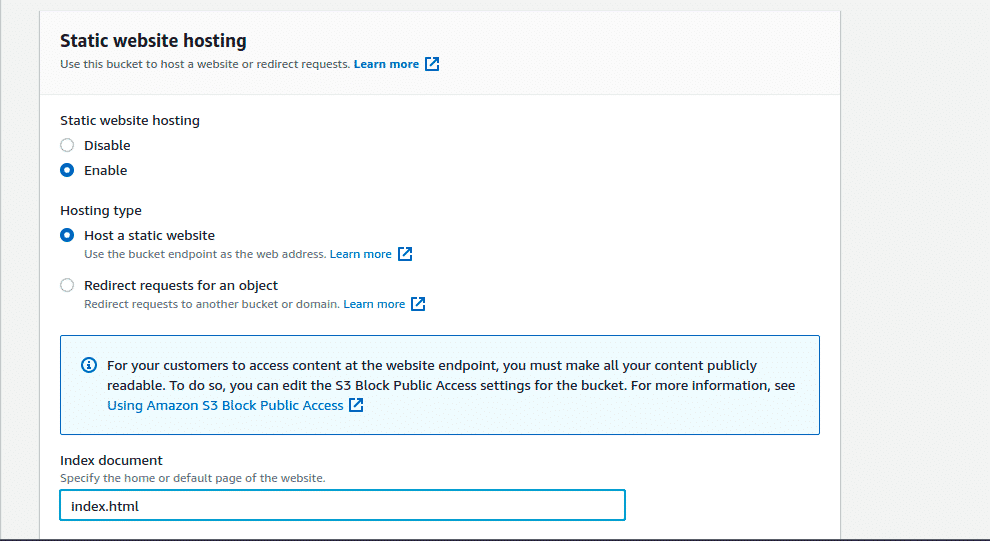
- Click the Edit button and Enable Static Website Hosting. Also specify the Index document name.
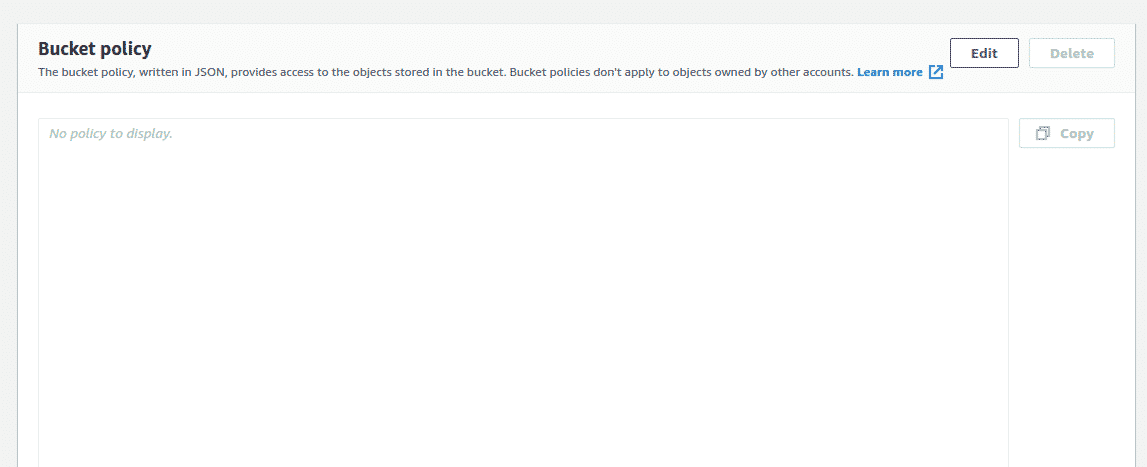
- The next step is to setup Bucket Policy permissons. Go to Permission section and find the option Bucket policy

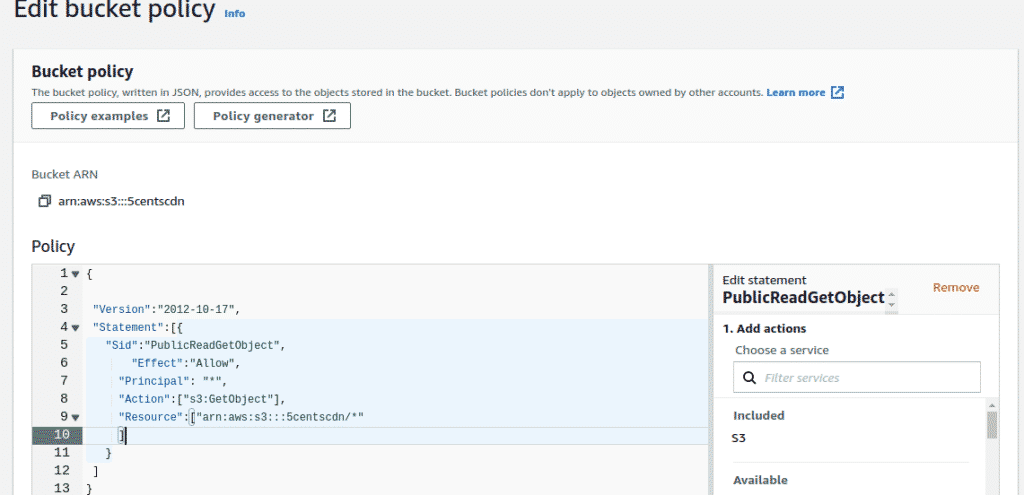
- Click the Edit button and add the policy permission. You can use the below-mentioned sample code(replace “example-bucket” with your S3 bucket name).
{
“Version”:”2012-10-17″,
“Statement”:[{
“Sid”:”PublicReadGetObject”,
“Effect”:”Allow”,
“Principal”: “*”,
“Action”:[“s3:GetObject”],
“Resource”:[“arn:aws:s3:::example-bucket/*”
]
}
]
}
- Click the Save changes button.
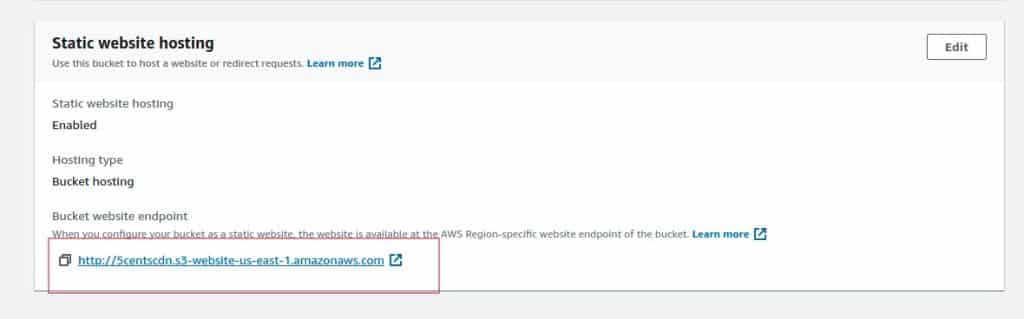
- Check accessibility of the file using the URL in the browser. You can open the bucket hostname in the browser. If the configuration is correct then you will get the index document page.
The configurations are completed in AWS S3. Now you need to create an HTTP Pull zone in the 5centsCDN control panel. You can provide the bucket hostname as Origin server hostname in pull zone settings.
- Login to 5centsCDN dashboard
- Go to Zones and select ” HTTP Pull”.
- Click the green plus button to create a new pull zone.

4. Provide your AWS S3 bucket hostname at Your Origin
Server Hostname.
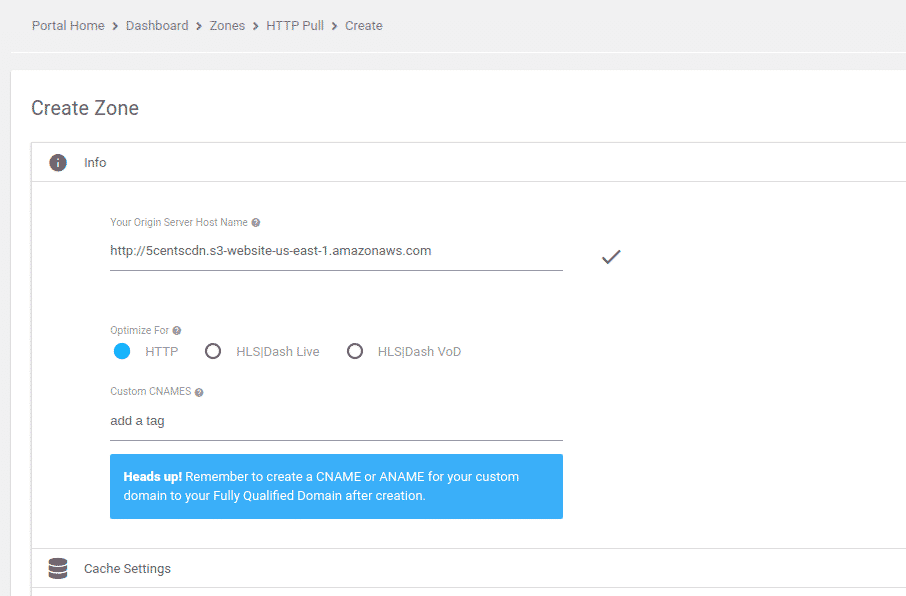
5. You can set your custom CNAME that can be used to retrieve your content so that the
request will be redirected to our CDN. To make this happen you need to contact your
DNS provider and add the custom CNAME in the DNS record to redirect the same to our
CDN.
6. Under Cache Settings, you can set the cache expiry period as required.
7. Ignore Query String: When enabled, this option will treat each of the uploaded files with
Query Strings as a separate cacheable file.
8. Origin IP Resolution configures your zone to use a different IP address for your origin
server.
9. By setting the Bandwidth Limiter you can limit the speed based on the ‘Rate’ value after
reaching a specified Bandwidth Limit.
10. Click on the Create Button.
For futher details Click here
The zone deployment will take up to 15 mins time. Once the deployment completed you can use your CNAME or pull zone hostname(pullXXX.5centscdn.com) for CDN delivery.
Pingback: BUY PEYOTE IN GERMANY
Pingback: Nova88max ทางเข้าแทงบอล
Pingback: BMW detailen
Pingback: Al Yarmouk University College
Pingback: kc9
Pingback: จองตั๋วรถทัวร์
Pingback: ufabet777
Pingback: https://tabanengineering.com/mengoptimalkan-penggunaan-pocket-option-demo/
Pingback: pigspin
Pingback: โคมไฟ
Pingback: บ้านพักคนชรา
Pingback: Betmomo
Pingback: clothing manufacturer
Pingback: ufa11k
Pingback: watch streameast
Pingback: เว็บปั้มไลค์