Our intelligent traffic management service makes it easy to implement a multi-CDN infrastructure that puts you in control of performance and cost. You can simply start with a strategy that directs traffic to the preferred CDN based on the country, state, or ASN (autonomous system number) of your users.
Follow the steps to add a domain in the 5centsCDN control panel.
Step 1 – Add the domain in the 5centsCDN control panel
- Login to 5centsCDN control panel.
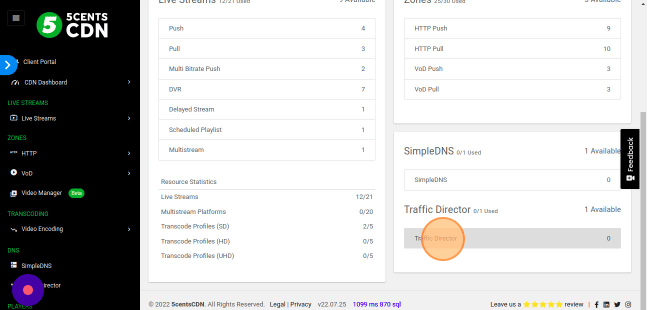
- Go to Traffic Director under DNS.
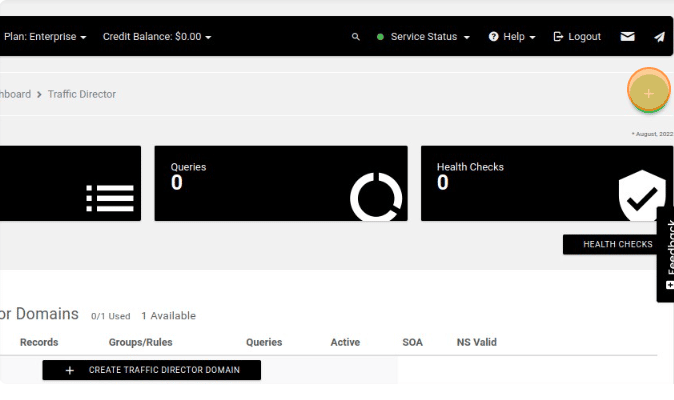
- Click the Green Plus button to add a new domain.
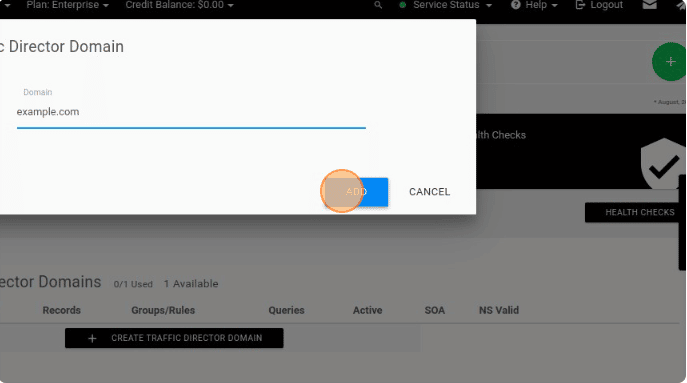
- Provide the domain name and click the ADD button.
- On the redirected page, Click the dropdown menu nearest to the Manage button and click Name Servers
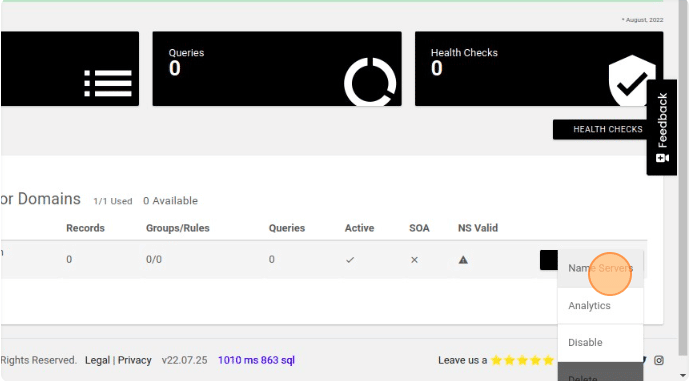
- Copy the Namer Servers hostname
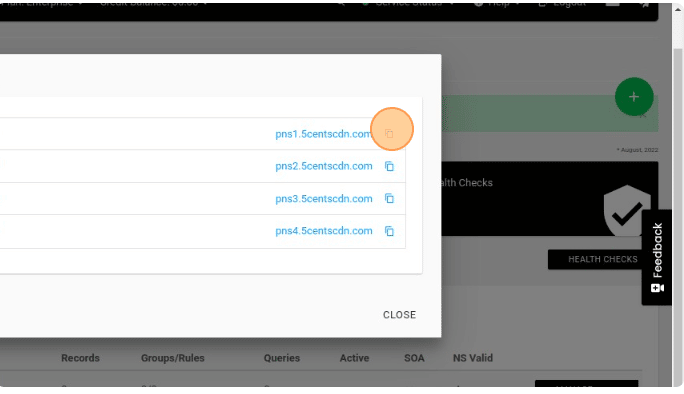
Step 2 – Change the default name servers with 5centsCDN name servers in your DNS
Go to your DNS and change the default name server with the 5centsCDN name server. You can contact your DNS provider for help.
You can follow the steps if your DNS provider is GoDaddy,
- Log in to your GoDaddy control panel.
- Go to the DNS section and select Manage Zones.

- On the redirected page, you can find the DNS Records. Scroll down the page and find the option
Nameservers
-
Click the Change button.
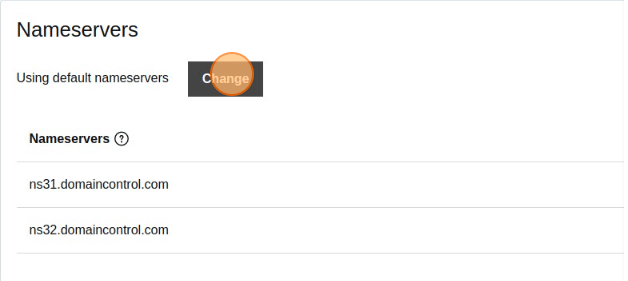
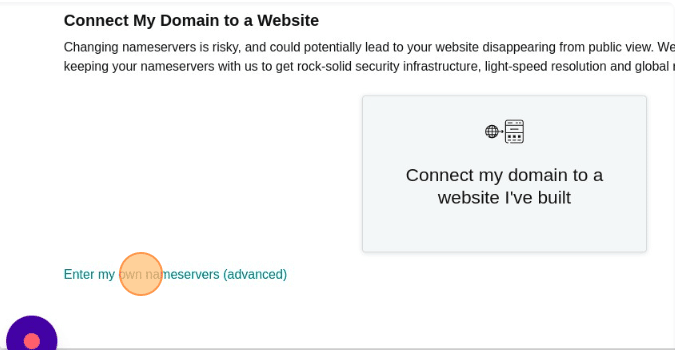
- On the redirected window, click “Enter my own nameservers (advanced)”
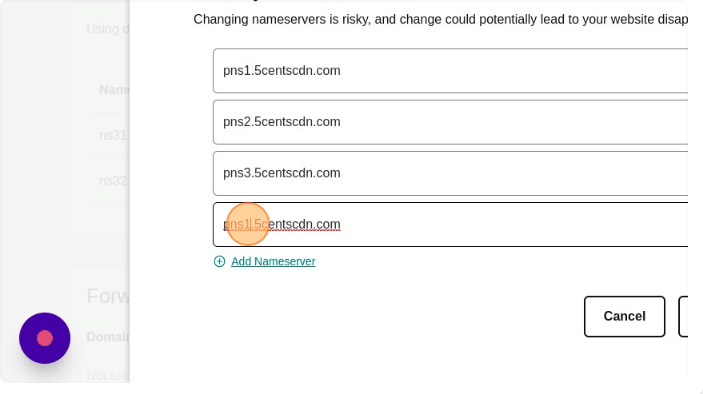
- On the next page, you can add the Name Server hostname(We have collected it in step 1)
- Click the Save button.

- You will get a warning message, You can agree to the terms and click the Continue button

- Settings completed, Go to 5centsCDN control panel and start configuring the records
