Creating your ideal video player is super easy. Customize it the way you want. Easily toggle features for seamless control over playback and settings customizations.
Create and Access Player Management:
- Log into the Dashboard
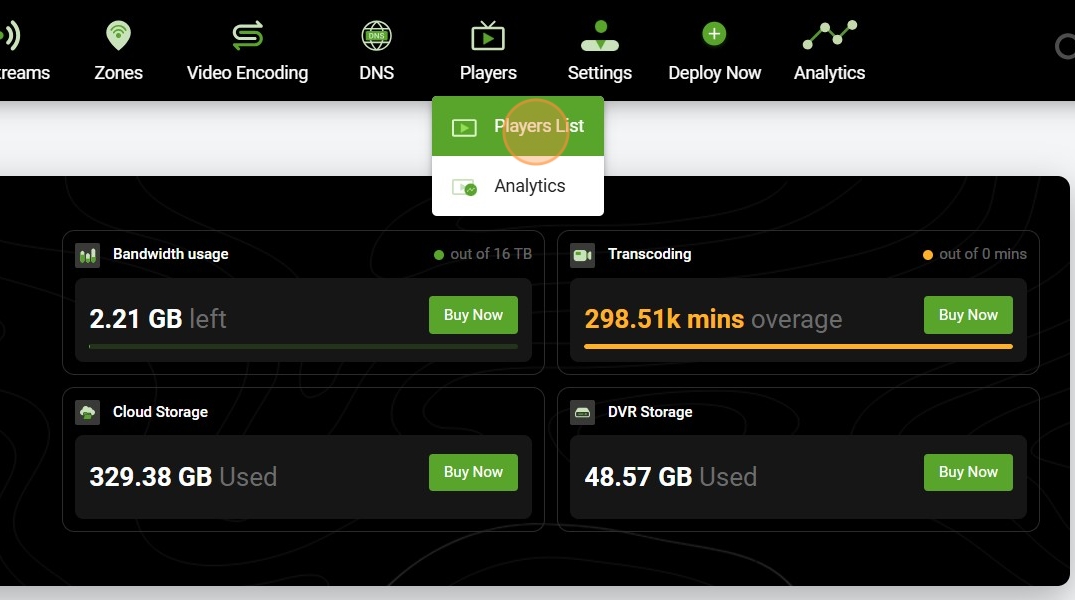
- Navigate to ‘Players’
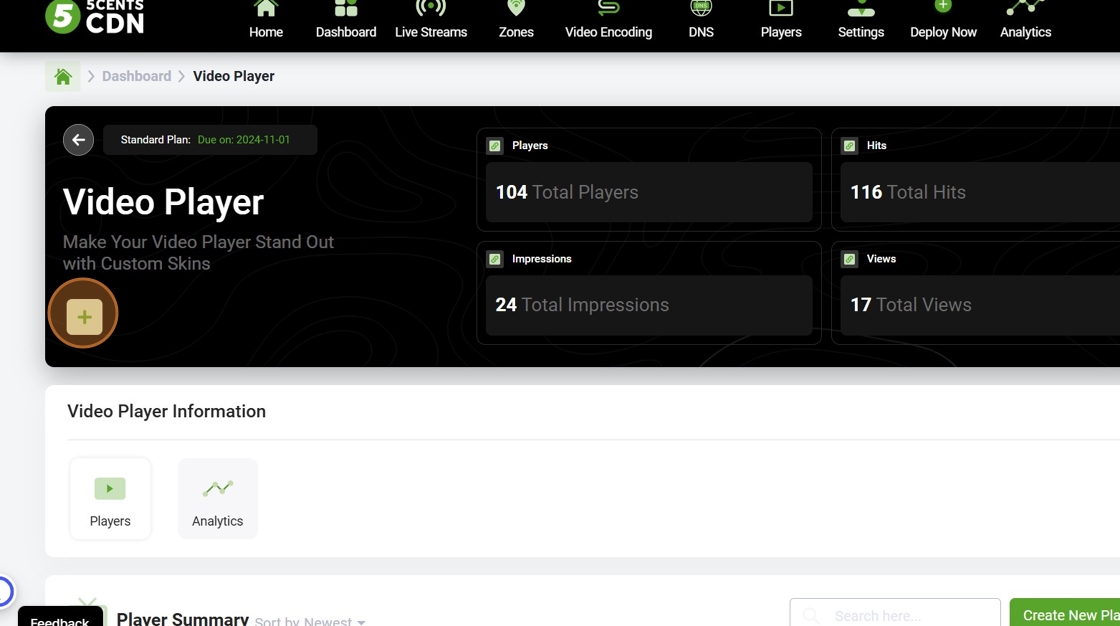
- Click ‘Players List’ to view the summary screen.

- Create a new player by clicking the Green plus icon on the top left corner

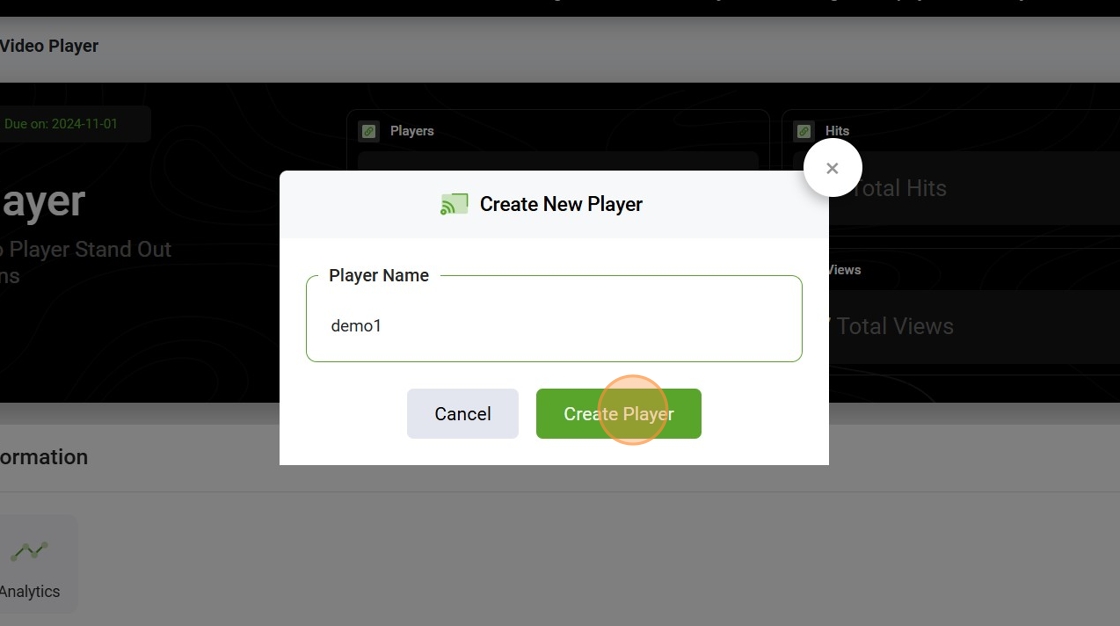
- Name your player skin in the pop-up and click ‘Add.’ You will be redirected to the “Player Management Page”

- For existing players, click on ‘Manage’ for details. This action will take you to the “Player Management Page”.
Player Customization:
- Create and Manage your ideal video player with ease. Customize your player with a single toggle button. Show or Hide any video player icon as per your unique requirement. Choose from 5 different skins, set up your branding color, and add your logo.
An overview of all available customization options within the 5centsCDN video player is listed below. It is intended for users looking to tailor the player to match their brand identity and functional requirements.
1. Appearance Customization
a. Skin Setup
Users can select from five different player skins. Each skin offers a unique layout and style, allowing you to customize the look and feel of the player interface.
b. Color Setup
Primary Color: Sets the main interface color (e.g., progress bar, play button).
Secondary Color: Adjusts the accent elements for additional UI components.
2. Player Setup
The following toggle options are available to control player behavior:
Show Skin on Player Initialization: Enable or disable the skin visibility when the player loads.
Show Picture-in-Picture Button: Adds a PiP button to allow users to pop the video out.
Autoplay on Start: Automatically starts playback when the player loads.
Mute on Start: Mutes audio on initial playback.
Show Concurrent Viewers: Displays the number of active viewers.
Enable Zoom Option: Allows zooming within the video frame.
Rewind/Fast Forward Buttons: Adds skip controls to the player.
Title Overlay Enable: Toggles the video title overlay.
End Action Setup: A dropdown menu provides options for what happens at the end of a video.
3. Logo / Branding Setup
Customize branding directly on the video player:
Upload Logo: Use the uploader or insert a direct logo URL.
Logo Position: Choose from Top Left, Top Right, Bottom Left, or Bottom Right.
Logo Width x Height: Define custom logo dimensions.
Logo Offset (H x V): Adjust horizontal and vertical offsets.
Logo Padding: Set padding around the logo in pixels.
Logo Opacity: Define transparency level (1 = fully visible, 0 = fully transparent).
Logo Fade Delay: Delay before the logo fades out.
Logo HideOnReady: Hide the logo once the video player is ready to play.
4. Poster and Offline Setup
Upload Poster: Upload an image that appears before playback begins.
Upload Offline Image: Shown when live stream is not active.
Offline Countdown Enable: Displays countdown for when the stream will resume.
5. Ads & Monetization
Google IMA Ads: Enables Google Interactive Media Ads.
VAST Ads: Supports VAST ad integration for flexible monetization.
6. Additional Settings
Context Menu Setup: Enable or disable the custom right-click context menu.
Add Related Videos: Use the “+” button to attach related video content for post-play suggestions.
